Food-Grade Cutting Board Testing: The Safety Verification Process
By Ravi Menon • 14th Dec
When you select food-grade material testing-certified boards, you're not just ensuring compliance, you're building the foundation for safe cutting boards that enhance your kitchen's workflow. As a chef who sequences prep stations for maximum efficiency, I've learned that verification isn't paperwork, it's performance data that translates to edge retention, hygiene, and silent movement. Materials that pass rigorous testing keep your workflow moving without compromising safety or speed. Let's break down how to verify what's truly safe for your station.
Understanding Food Safety Certification Frameworks
Food safety certifications exist for specific operational purposes, not just as marketing checkboxes. For a clear breakdown of NSF, FSC, and other labels, see our guide to decoding cutting board certifications. As a kitchen workflow specialist, I stage boards based on their documented performance rather than marketing claims. Here's what actually matters in a professional prep environment:
- FDA food contact compliance: Verifies materials won't leach harmful substances at typical food temperatures (up to 180°F continuous use). This is the baseline for US-market boards.
- LFGB (Germany): Stricter sensory testing for taste/odor neutrality, critical when prepping delicate items like citrus or raw fish that pick up board flavors.
- FSC certification: Validates sustainable wood sourcing, less about immediate safety, more about long-term material integrity as boards age.
When auditing a manufacturer's claims, cue these verification steps:
- Demand the specific test report number (not just "FDA compliant")
- Verify test parameters match your use case (e.g., 30 min at 140°F for hot foods)
- Cross-reference with material safety data sheets (MSDS)
Material safety verification separates kitchen assets from liabilities. One slip in documentation can mean cross-contamination risks or accelerated knife wear.
The Material Testing Protocol: What Happens in the Lab
Step 1: Migration Testing
Manufacturers submerge board materials in food simulants (like ethanol/water mixes) at controlled temperatures. Labs measure chemical transfer rates in parts per billion. For the microbiology behind surface hygiene, read our bacterial growth on cutting boards analysis. For FDA-approved kitchen materials, allowable limits are:
- 0.5 ppb for known carcinogens
- 50 ppb for other restricted compounds
This is why I reject "natural" bamboo boards advertising "no glues", many use urea-formaldehyde resins that exceed migration limits above 120°F. Test reports showing <5 ppb formaldehyde migration at 140°F are non-negotiable for my clients' hot prep stations.
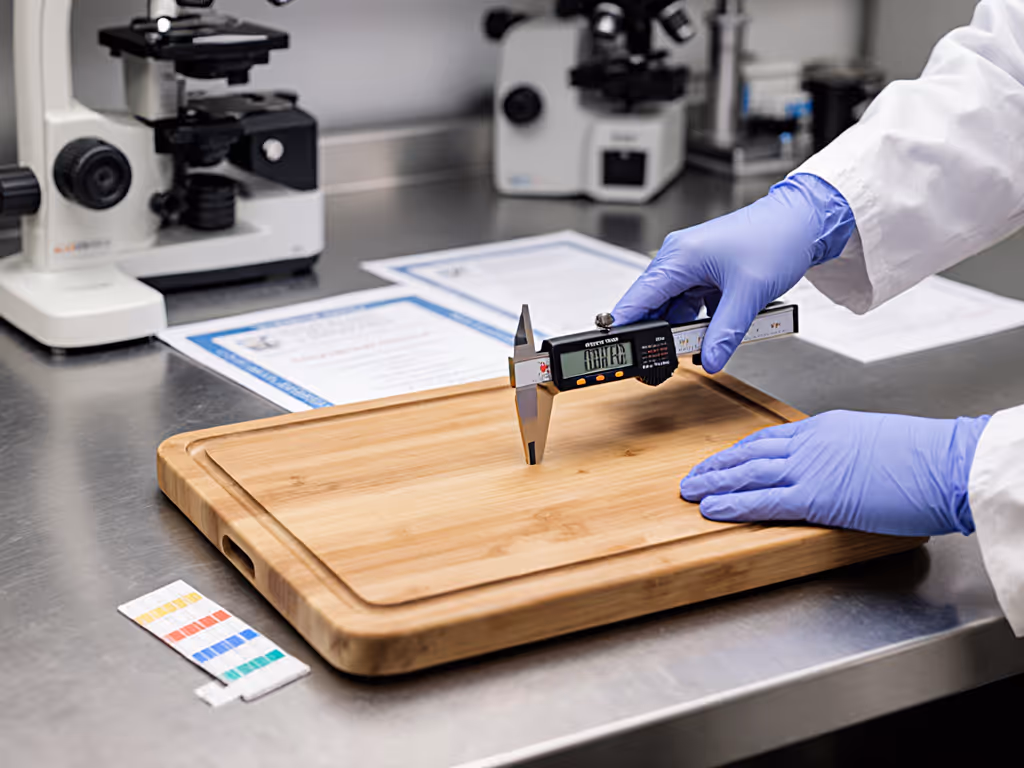
Step 2: Surface Integrity Stress Tests
Boards undergo 500+ knife strikes under controlled force (measuring 2-5 Newtons for typical home use). Labs then examine:
- Surface pitting depth (should be <0.1mm to prevent bacterial harborage)
- Edge retention on standardized test blades
- Juice channel effectiveness (measured in mL/sec flow rate)
Step 3: Thermal Cycling Validation
Materials rotate through temperature extremes (-20°F to 212°F) for 30 cycles. Post-test measurements include:
- Dimensional stability (warping <0.5mm per foot)
- Finish integrity (no cracking/delamination)
- Moisture absorption (<0.1% for optimal knife glide)
I've seen too many boards fail at step 3, causing dangerous slippage during high-speed prep. Thermal validation isn't optional when you're running a tight mise en place.
Actionable Verification Checklist
Don't take manufacturer claims at face value. Execute this material safety verification protocol before adding boards to your station:
- Check for dual certification - FDA + LFGB provides broader safety coverage than single-standard compliance
- Inspect seam construction - End-grain boards should show <0.05mm gap between segments (prevents biofilm traps)
- Perform the 10-minute water test: submerge overnight; any discoloration or swelling indicates poor sealing
- Verify thermal specs: boards used near stovetops need 212°F heat deflection tolerance (standard HDPE fails at 176°F)
- Demand knife compatibility data - High-carbon steel blades require surface hardness <3.5 Mohs to prevent micro-chipping To translate material hardness into wood species selection, consult our Janka hardness guide.
Last Tuesday, I audited a client's "natural" board that smelled faintly of vinegar after washing. The manufacturer claimed "food-safe finish" but couldn't produce migration reports. Testing revealed acetic acid leaching at 87 ppb, well above limits. That board was relegated to cheese service within hours. Your station's integrity depends on verified data, not marketing language.
Integrating Verified Boards into Your Workflow
Certification is just the starting point. I batch my board selections based on three operational criteria:
- Task-specific material hardness (3.0-3.8 Mohs for Japanese blades)
- Documented thermal stability matching my cooking methods
- Proven workflow integration (size, juice channels, non-slip bases)
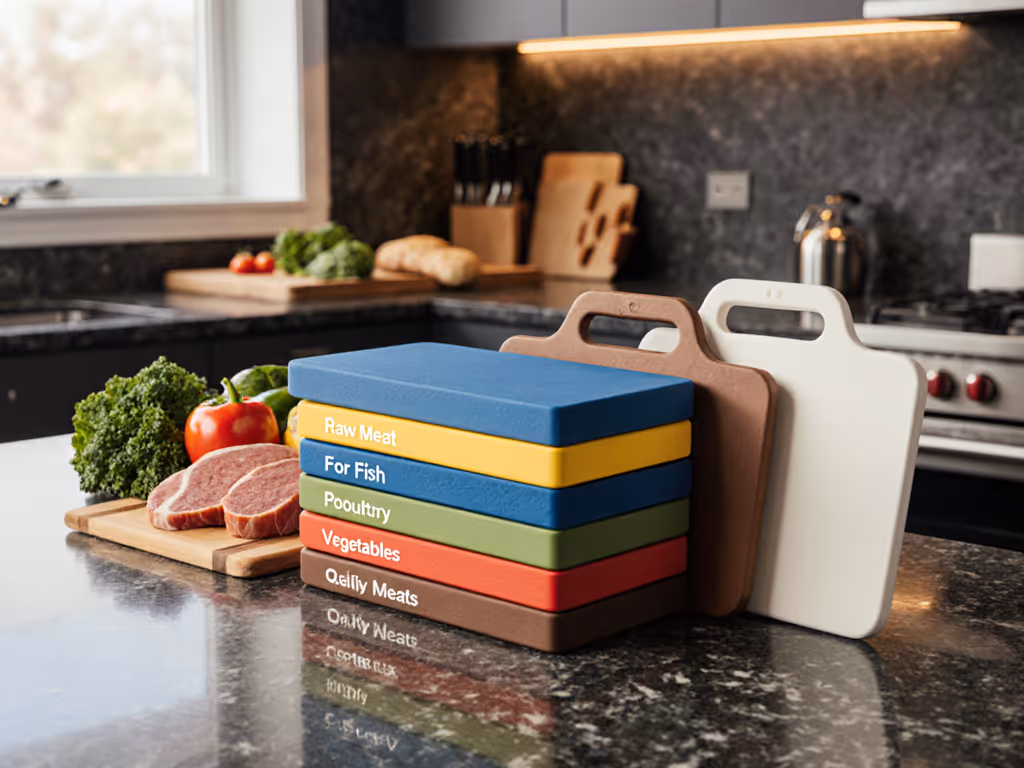
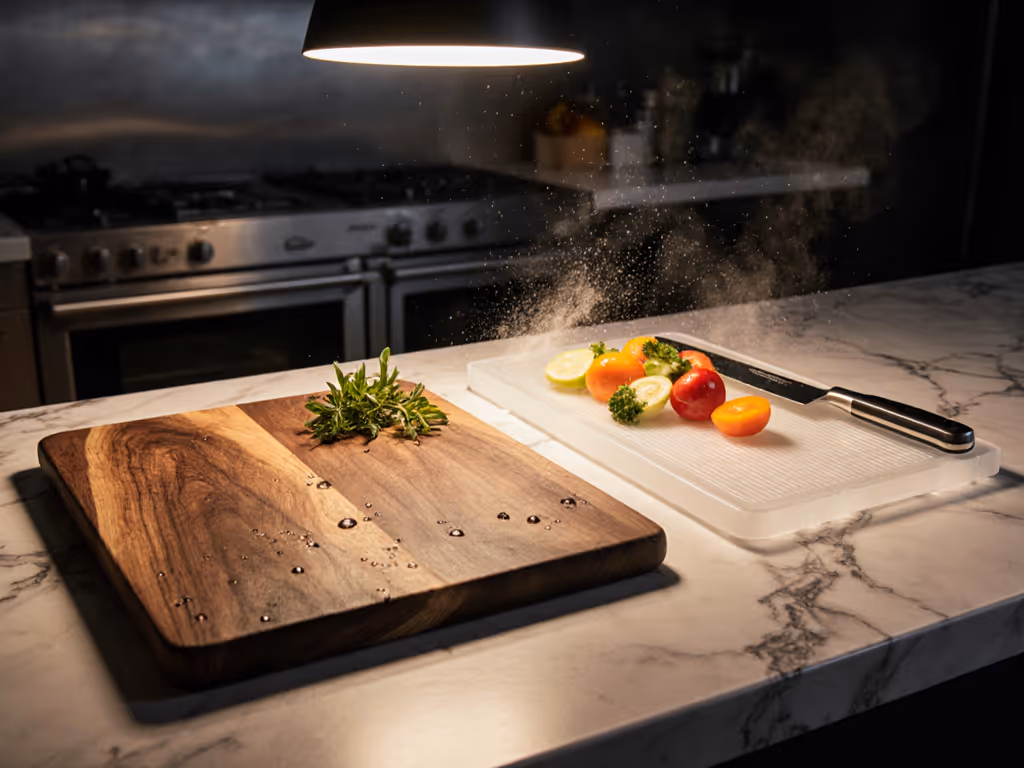
In a tiny NYC kitchen last month, I implemented a two-board dance using one LFGB-certified acacia board for proteins (with integrated scrap chute) and a food-grade HDPE board for vegetables. The acacia passed 212°F thermal testing, while the HDPE had documented 0.03% moisture absorption, critical for knife glide during rapid vegetable prep. This pairing reduced cross-contamination risks while maintaining 22-second mise en place cycles. For protocols and board choices that minimize cross-contamination, see our food safety cutting boards guide.
Let your knife move; your station should follow silently. Every verified board in my system has three documented attributes: safe material composition, thermal resilience for its task zone, and measurable impact on prep time. No exceptions.
Your Next Verification Step
Tonight, execute this 7-minute safety audit on your primary cutting board:
- Time-stamp 8:00 PM: Check for manufacturer's compliance documentation (often etched on underside)
- Time-stamp 8:02 PM: Perform fingernail pressure test, no permanent indentation should form
- Time-stamp 8:04 PM: Run damp cloth over surface, should dry within 15 seconds with no dark spots
- Time-stamp 8:06 PM: Contact manufacturer with this exact request: "Please email the full migration test report for [product name] under FDA 21 CFR 177.2600"
If they can't provide it within 48 hours, that board doesn't belong in your professional-grade station. Verified kitchen tool certification process standards aren't just regulatory checkboxes, they're the silent choreography that keeps your prep flowing safely and efficiently. Eliminate guesswork: your knives, time, and health depend on documented material safety.
Related Articles